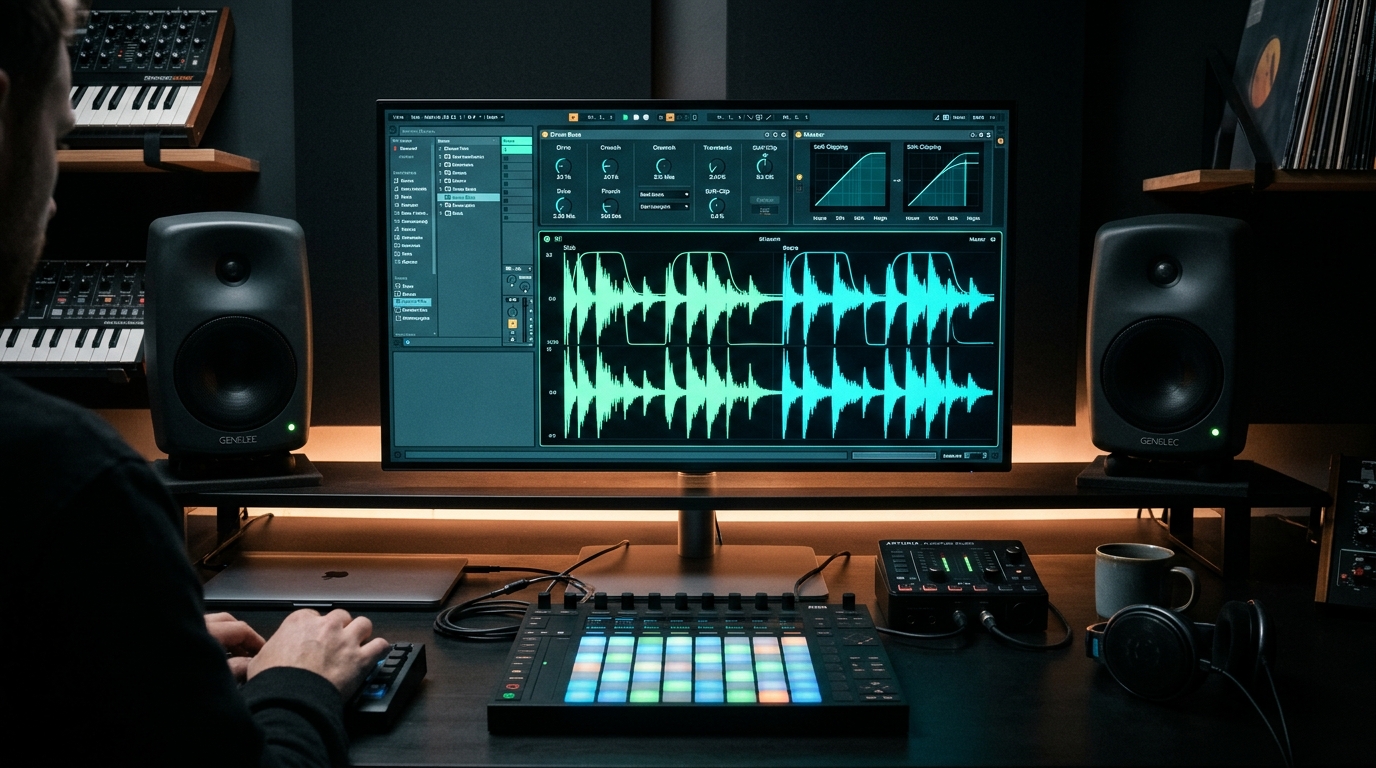

To soft-clip drums in FL Studio, route all individual drum inserts to a dedicated Drum Bus track, insert a clipper plugin before any limiting or master processing, engage linear-phase oversampling to eliminate digital aliasing, and drive the input gain until transient peaks shave off 2 to 4 dB of dynamic range. This technique flattens the extreme, millisecond-long transient spikes from your kicks and snares while keeping the punch, snap, and body 100% intact.
Why Soft-Clip Instead of Limiting or Compressing?
When producing modern genres - from Trap and Hip-Hop to Drum & Bass, Dubstep, and modern Pop - drums demand maximum perceived loudness and physical chest punch. Standard dynamic processors often compromise this impact:
- Limiters rely on lookahead buffers, attack times, and release curves. When a sharp snare transient hits a limiter, the detector ramps down the volume and the release stage drags down the sustain and body of surrounding instruments. You get dull, "pumping" transients where the rest of the mix dips every time the snare fires.
- Compressors alter dynamic envelopes over time. While compressors are fantastic for groove glue, aggressive compression clamps down on the initial drum crack, rounding off the attack transient before the sound can punch through the wall of synths and vocals.
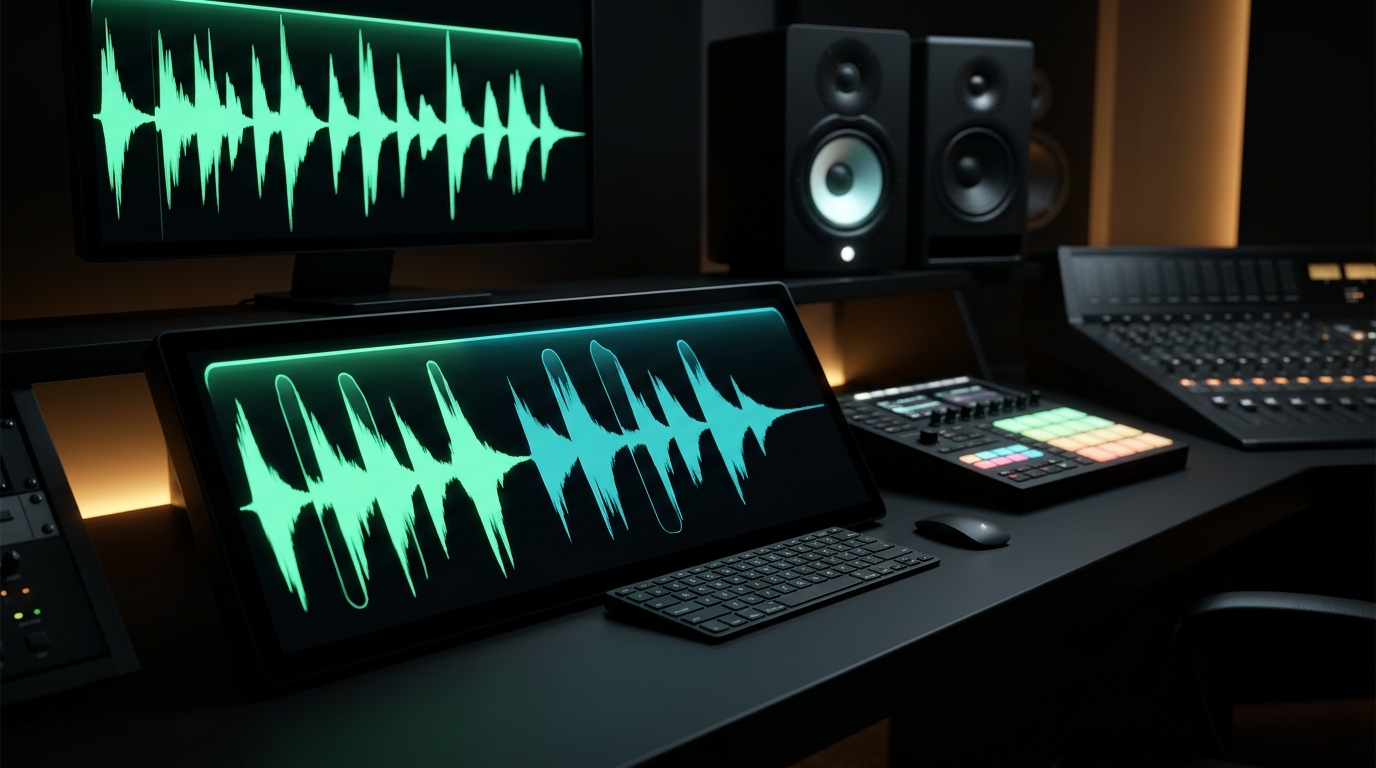
- Soft Clippers act instantaneously. Instead of turning down the volume over time via an attack and release envelope, a clipper applies a non-linear transfer curve (a "soft knee") that rounds off the tip of the waveform above a set threshold.
[Drum Inserts] ──> [Drum Bus: Soft Clipper] ──> [Mix Bus] ──> [Master Limiter]
(Kick, Snare,       (Shaves 2-4 dB of fast       (Smooth glue)  (Gentle leveling,
 Hats, Percs)        transient spikes)                          zero choking)
The result: higher RMS and LUFS loudness, retained transient punch, and rock-solid peak headroom for your master bus.
Step-by-Step Drum Clipping Guide in FL Studio
Follow this battle-tested workflow to set up clean, punchy drum bus clipping in FL Studio.
Step 1: Route Individual Drums to a Dedicated Drum Bus
Never place a clipper on individual channel strips before consolidating the group into a shared bus. Treating your drums collectively allows the clipper to catch overlapping transient collisions between your kick, snare, and percussion.
- Open the FL Studio Mixer by pressing F9 (or clicking the Mixer icon in the top toolbar).
- Select your individual drum tracks (Kick, Snare, Claps, Hi-Hats, Percussion) by holding Ctrl + Shift and left-clicking each mixer insert track.
- Right-click an empty mixer track (rename it
DRUM BUSby pressing F2 and picking an accent color). Navigate to Track Routing, and select Route to this track only. - Verify your routing: Confirm that your individual drum inserts are sending audio only to the
DRUM BUS, and that theDRUM BUSfader routes directly to the Master channel.
Step 2: Insert Your Clipper on the Drum Bus
Add your clipper plugin to the first or second insert slot of the DRUM BUS mixer channel, before any group EQ, modulation, or secondary glue compression.
- Using Stock Fruity Soft Clipper:
- Open slot 1 on the
DRUM BUSand select Fruity Soft Clipper. - By default, Fruity Soft Clipper sets the THRES (threshold) knob high and the POST gain at neutral (centered).
- Turn down the THRES knob slightly until the threshold line on the input/output transfer meter begins to intersect your incoming peak drum signals.
- Open slot 1 on the
- Using AuxClip Pro (or Dedicated Mastering Clipper):
- Load AuxClip Pro onto the first insert slot.
- Set the clipping curve mode to Soft Knee for musical, analog-style saturation, or set it to Hybrid if you are producing hard-hitting trap kicks where you want razor-sharp transient retention.
Step 3: Dial in the Input Drive and Shave Transients
Now let us calibrate the exact amount of clipping required to free up headroom without introducing audible crunch.
- Solo the Drum Bus in the mixer and start playback at the busiest, loudest section of your arrangement (usually the chorus or drop).
- Slowly raise the Input Gain / Drive knob on your clipper.
- Watch the dynamic reduction meter: Aim to shave off 2 dB to 4 dB on transient peaks (your hardest-hitting snare and kick hits).
- Listen closely to the decay of your cymbals and hi-hats. The transient peaks of your drums should feel thicker and more glued. If the top-end decay begins to crackle, hiss, or sound brittle, you have pushed too far. Back off the drive by 1 dB.
Step 4: Enable Linear-Phase Oversampling
Clipping generates higher-order harmonic distortion. In a digital environment, any harmonics that exceed the Nyquist frequency (half of your session sample rate, which is 22.05 kHz at a standard 44.1 kHz project rate) cannot be drawn by the system. Instead, they bounce off the digital ceiling and fold back down into the audible spectrum as harsh, dissonant inharmonic artifacts - a digital defect known as aliasing.
- Fruity Soft Clipper Limitation: Stock tools like Fruity Soft Clipper do not offer internal oversampling. While Fruity Soft Clipper is lightweight and great for quick draft beats, driving it heavily can introduce aliasing in the upper register.
- The AuxClip Pro Solution: In AuxClip Pro, toggle oversampling to 4x (or 8x for final bounce and mastering). This calculates the non-linear clipping curve at an elevated internal sample rate (up to 176.4 kHz or 352.8 kHz), running steep linear-phase reconstruction filters that sweep away out-of-band harmonics before downsampling back to your session rate. You get punch and loudness with zero digital foldback noise.
Step 5: Level-Match and A/B Test
The human ear naturally perceives louder audio as "better" audio. To verify that you are genuinely enhancing punch and dynamic control rather than simply tricking your brain with added volume:
- Use the Output Gain knob on your clipper to balance the volume of the clipped signal so it matches the bypassed signal when active.
- Toggle the plugin effect slot on and off (click the green mute LED next to the plugin slot in the FL Studio mixer).
- What to listen for:
- The snare should sound denser, heavier, and more authoritative.
- The kick transient should feel compact, focused, and punchy.
- Check your
DRUM BUSpeak meter: the overall peak level should stay firmly 2 to 4 dB lower than the unprocessed drum bus, without any audible loss of energy or punch.
Common Drum Bus Clipping Mistakes
Even seasoned producers make subtle errors when clipping drums. Avoid these three common pitfalls:
- Clipping into the Master Limiter Unchecked: If you push your drum bus over 0 dBFS without a master ceiling safety guard, FL Studio's 32-bit floating-point audio engine prevents digital overs internally. However, when that signal enters your master bus limiter, the limiter will overreact, slamming on the brakes and creating the very pumping artifacts you tried to avoid (read our breakdown on why you must clip drums before your master limiter). Ensure the clipper acts as a disciplined ceiling for your peak levels.
- Ignoring Inter-Sample Peaks (ISPs): Pure sample clipping only manages discrete digital sample points. When consumer DACs (digital-to-analog converters) or streaming audio codecs (like Spotify's Ogg Vorbis or Apple Music's AAC) reconstruct the continuous analog waveform, the curve between samples can jump over 0 dBFS (see our deep dive on inter-sample peaks and loudness). Always engage a clipper with a built-in True-Peak ceiling, or audit your bus levels using an online reference meter like Mix Engine Web.
- Clipping High Frequencies Too Aggressively: Open hi-hats, tambourines, and splash cymbals have a much lower peak-to-RMS ratio than kicks and snares. If your top end sounds harsh or brittle, unroute the cymbals from the main
DRUM BUSand route only Kick, Snare, and Toms into the clipper.
Need Mastering-Grade Clipping? Grab AuxClip Pro
If you want continuous knee morphing from razor-sharp hard clipping to velvety soft saturation, gain-matched Delta audition, and up to 32x linear-phase oversampling, check out AuxClip Pro. It is 100% free, runs natively on macOS (Apple Silicon and Intel) and Windows, and requires no iLok or background DRM bloat.
Get Pristine Headroom with AuxClip Pro
Take control of your transient peaks, free up 2 to 4 dB of clean headroom, and make your masters louder and punchier without choking your limiter.
Download AuxClip Pro (Free)