
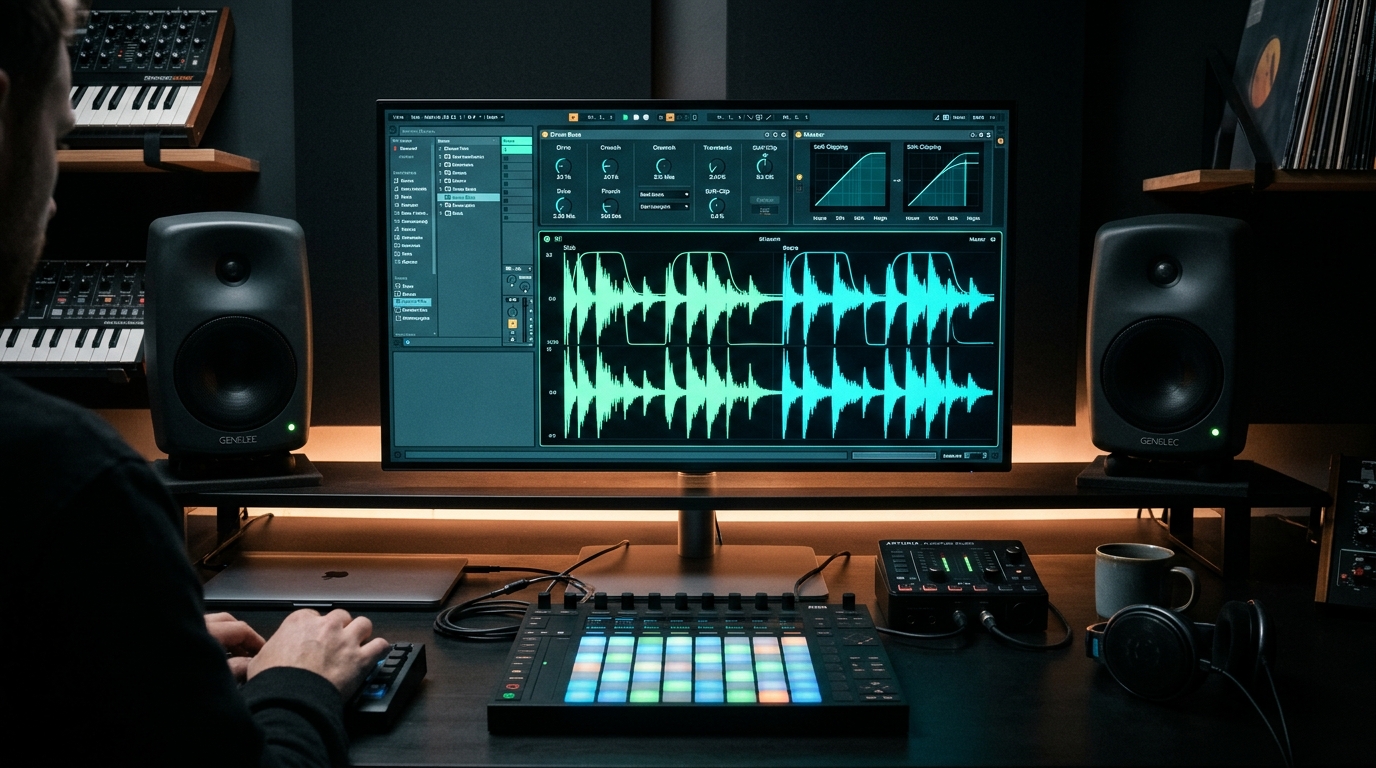
To soft-clip drums in Ableton Live, group all your drum channels into a single Drum Bus track, insert a clipper device before any final master limiting, enable high-quality oversampling to prevent digital aliasing, and drive the input gain until peak transients shave off 2 to 3 dB. This technique tames rogue transient spikes from snares and kicks while preserving attack punch, increasing perceived loudness, and eliminating the audible pumping artifacts of traditional limiters.
Native Ableton Clipping vs. Dedicated Plugins
Ableton Live provides several built-in audio effects capable of non-linear saturation and clipping, but each comes with specific functional trade-offs:
- Ableton Saturator (Native): Offers an "Analog Clip" curve and a "Soft Sine" waveshaper. While handy, Saturator lacks a dedicated dynamic reduction meter, forcing you to guess how many decibels of peak headroom you are actively shaving off.
- Glue Compressor Soft Clip (Native): Includes a toggleable "Soft Clip" button in the lower-right corner. It sounds warm and analog, but its clipping threshold is hardcoded to 0 dBFS with zero independent threshold, drive, or knee controls.
- Drum Buss (Live 10, 11, & 12): Features three drive modes (Soft, Medium, Hard), but bundles saturation, transient shaping, compression, and sub-harmonic synthesis into a single macro algorithm rather than providing clean, surgical peak shaving.
- Dedicated Clipper (AuxClip Pro): Provides visual real-time threshold and reduction metering, a mastering-grade True-Peak safety ceiling, continuous knee morphing from hard to soft, and linear-phase polyphase oversampling to eliminate digital foldback aliasing.
[Drum Tracks] ──> [Drum Bus Group] ──> [Soft Clipper] ──> [Master Bus Limiter]
(Kick, Snare,      (Unified sum        (Shaves 1.5-3.5 dB (Gentle leveling,
 Hats, Perc)        routing)            transient spikes)   zero pumping)
The result: higher RMS and LUFS loudness, preserved punch on kicks and snares, and clean, predictable headroom before your audio ever hits the master chain.
Step-by-Step Drum Clipping Guide in Ableton Live
Follow this streamlined workflow to configure clean, punchy drum bus clipping in your Ableton Live sessions.
Step 1: Group Your Drum Tracks
Never soft-clip drum tracks across multiple channels in isolation without first managing their summed output. Summing your drums into a unified group ensures that simultaneous transient spikes (such as a kick and a snare hitting on beat 2 or 4) are caught before hitting the master fader.
- Select your individual drum tracks in either Session or Arrangement View (Kick, Snare, Claps, Hi-Hats, Percussion) by holding Shift and clicking each track header.
- Create a Track Group by pressing Cmd + G (macOS) or Ctrl + G (Windows).
- Rename the group header track to
DRUM BUSby pressing Cmd + R (macOS) or Ctrl + R (Windows). - Verify track routing: Ensure that the "Audio To" dropdown on all individual drum tracks is set to
Group, and that theDRUM BUSgroup outputs directly toMaster.
Step 2: Insert Your Clipper on the Drum Group Track
Drop your clipper device onto the DRUM BUS group track. Place it at the tail end of your drum processing chain, after corrective EQ, but before any mix bus limiters or glue compressors.
- Using Ableton Saturator:
- Drag Saturator from the Audio Effects browser onto your
DRUM BUStrack. - Set the curve dropdown menu to Analog Clip (for punchy, aggressive clipping) or Soft Sine (for smoother, rounded saturation).
- Turn Color off to keep the frequency response completely flat and avoid unwanted tonal coloration.
- Drag Saturator from the Audio Effects browser onto your
- Using AuxClip Pro (VST3 / AU):
- Load AuxClip Pro onto the first insert slot of the
DRUM BUS. - Select Soft Knee mode for musical, analog-style saturation, or set it to Hybrid mode if you are producing punchy electronic, trap, or hip-hop drums where transient sharpness is vital.
- Load AuxClip Pro onto the first insert slot of the
Step 3: Set Drive and Shave Transients
Now let us calibrate the drive so you haircut transient spikes without generating fuzzy harmonic distortion.
- Solo the Drum Bus and loop the most energetic section of your track (the drop or chorus).
- Gradually raise the Drive / Input Gain knob on your clipper.
- Monitor your peak reduction meter: Target between 1.5 dB and 3.5 dB of peak shaving on the hardest kick and snare hits.
- Listen critically to the hi-hat and cymbal decay tails. If the high frequencies begin to "fuzz," buzz, or sound brittle, ease back the drive knob by 0.5 to 1.0 dB.
Step 4: Engage High-Quality Oversampling
Non-linear clipping generates higher-order harmonic distortion. In any digital audio workstation, harmonics that exceed the Nyquist frequency (half of your project sample rate, which is 22.05 kHz at a standard 44.1 kHz rate) cannot be rendered. Instead, they bounce off the digital ceiling and reflect back down into the audible spectrum as harsh, dissonant inharmonic artifacts - a digital error known as aliasing.
- Ableton Saturator: Right-click the title bar of the Saturator device and ensure Hi-Quality (oversampling) is checked.
- AuxClip Pro: Select 4x or 8x linear-phase oversampling directly on the plugin interface. This calculates the clipping curve at an elevated internal sample rate (up to 352.8 kHz), running steep linear-phase reconstruction filters to eliminate foldback aliasing before returning audio to your session.
Step 5: Level-Match and A/B Test
The human auditory system is wired to perceive louder audio as "better" audio. To verify that your drums are genuinely punchier rather than just louder, precise level-matching is essential:
- Use the Output knob on your clipper to balance the volume of the clipped signal so it matches the bypassed signal when active.
- Click the device activator button (or press the 0 key while the device is selected) to toggle the clipper on and off.
- What to listen for:
- The transient attack of the kick and snare should stay intact and punchy.
- The overall track headroom increases on your master meter, allowing you to push the rest of your mix cleaner into the final limiter without choking the stereo bus.
3 Costly Drum Clipping Mistakes in Ableton Live
Avoid these three common mistakes when setting up drum clipping in Ableton Live:
- Relying on the Glue Compressor's Soft Clip Without Gain Staging: The Glue Compressor only soft-clips when incoming signals exceed 0 dBFS. If your drum submix is peaking at -6 dBFS, the soft-clip circuit will never engage unless you apply substantial makeup gain inside the compressor first.
- Ignoring Inter-Sample Peaks (True Peak Overs): Pure digital sample clipping rounds off discrete digital sample points, but downstream DACs (digital-to-analog converters) and streaming audio encoders (Spotify, Apple Music) reconstruct smooth analog curves that can peak above 0.0 dBFS. Always pair your clipping with a True-Peak ceiling, or audit your levels using an online reference meter like Mix Engine Web (read our inter-sample peaks guide).
- Clipping Before Heavy Low-End Boosts: If you EQ in massive low-end boosts (e.g., boosting 50 Hz on the kick) after your soft clipper, you re-introduce massive dynamic peaks to the signal. Always place frequency-boosting EQs before the clipper, and utility or surgical carving EQs after.
Need Mastering-Grade Clipping? Grab AuxClip Pro
If you want continuous knee morphing from razor-sharp hard clipping to warm soft saturation, gain-matched Delta audition, and up to 32x linear-phase oversampling, check out AuxClip Pro. It is 100% free, runs natively on macOS (Apple Silicon and Intel) and Windows, and requires no iLok or background DRM bloat.
Get Pristine Headroom with AuxClip Pro
Take control of your transient peaks, free up 2 to 3 dB of clean headroom, and make your masters louder and punchier without choking your limiter.
Download AuxClip Pro (Free)